

21 Jan, 25
Monetize your Rust server with Tip4Serv. You can create a professional donation store in minutes to sell items, manage memberships, or collect donations. Whether you’re running a small server or a bustling community, Tip4Serv provides the tools you need to succeed. Here’s a step-by-step guide to get started.
Step 1: Create your Tip4Serv account
Visit the Tip4Serv login page to register your account. This account will serve as the management hub for your Rust webstore. Once registered, log in to access your personalized dashboard, where all settings and features are available.
Step 2: Personalize your Rust Webstore
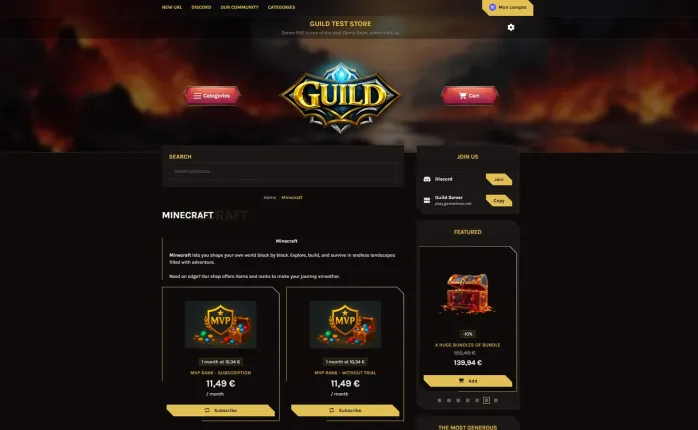
Head to the Tip4Serv Dashboard then click Store Editor to configure your store’s basic details. Add your server’s name, logo, description, and favorite color to give your webstore a unique identity. It’s time to show your style!
Step 3: Set up payment methods
This step is crucial to receive donations, subscriptions, and product payments from your Rust webstore.
Navigate to My Gateway to configure payment options. Tip4Serv supports 15+ payment methods, including PayPal and credit cards, ensuring a seamless checkout experience for your players. Activate your payment gateway and start processing transactions.
Step 4: Link your Rust server
Connect your Rust server to Tip4Serv by navigating to My Servers. Download and install the provided plugin into your Rust server folder. Follow the on-screen instructions or refer to the documentation for guidance. This enables automatic delivery of purchased items and seamless integration between your server and Tip4Serv.
Step 5: Add products and commands to your Rust Donation Store
Adding products
To start selling in-game items, go to My Products and create products like loot boxes, custom skins, building materials, or VIP perks. Offering exclusive content will encourage players to support your Rust server.
Setting up commands
Configure automatic commands that will execute on your Rust server or Discord after a purchase.
-
Create or edit a product
Navigate to My Products and click Add or Edit.
-
Link to a server
Click Add Discord or Game Server, then select the server where the command should run.
-
Set up commands
For Rust: Enter the specific commands that should be executed on your server.
For Discord: Assign roles, send a private message (optional), or post an announcement in a channel.
This ensures rewards are delivered instantly after a purchase, creating a seamless experience for your players!
Step 6: Test your setup
Use TEST Mode to simulate purchases and ensure everything in your Rust donation store works perfectly. This mode lets you test privately and displays a maintenance page to visitors.
Why use TEST Mode?
Simulate a purchase and confirm proper delivery of server commands or Discord actions.
Make adjustments to your store without affecting live visitors.
How to enable TEST Mode
-
Navigate to My Settings.
Set the State to TEST MODE.
Once you're satisfied with the setup, switch back to live mode to welcome your players!
Step 7: Unlock the full potential of your Rust Donation Store with the Pro Theme
For a standout Rust webstore, explore Tip4Serv’s PRO features. Use dynamic themes, additional CSS, or the GUI color editor to create a unique store design that aligns with your server’s aesthetic. Customizing your store improves user experience and helps you stand out from the competition.
Furthermore, reduce the fees from 5% to 3.8%.
Ready to Monetize Your Rust Server?
With Tip4Serv, setting up a Rust webstore is fast, easy, and efficient. Start selling items, managing memberships, and collecting donations today. Take advantage of the Pro Plan’s 21-day free trial to explore advanced features like gift cards, reduced transaction fees, and custom product galleries.

Hi, my name is Simon. I'm just a simple man making my way in the universe of pop culture and video games. I am a casual gamer that loves Dark Souls and FPS.


Simon Mawas